Tuesday, November 12, 2013

The Cutest Cupcakes Ever - Minions Cupcakes! Super Easy!

Assemble ingredients! You'll need your choice of cake mix, candied eyes (from arts & crafts store), blue icing, cupcake holders, black icing with pen, and of course, twinkies! Most of the things I was able to get at my local Safeway store.

Do your thing with the cake mix aka follow the instructions on the box.

Bake cake :) easiest step! After the cake is done cooling - make sure you cut off the top part a little to make it flat for placement of the twinkie aka minion's head.

Lay out our twinkies so that you can slice each one into half. Six twinkies for 12 minion heads!

Decorations time - put a bit of icing behind the candied eyes so it sticks - then using the black icing, draw the rims of the minion's goggles as you see above. After you're done drawing the goggles, make the mouth to whatever shape you want. Some ideas are shown above!

Then, spread the blue icing on as much as you want, I used a ziploc bag and cut a hole at the edge and used that as an icing spread. Be careful not to run out of icing though! As you can tell - I also had extra cake batter so I baked an additional cake next to it - you can do the same or just bake more minions!

Stick your final decorated minion twinkies on and make sure they stick! What an easy process!!

Another shot :)

Over the top view! Also, you could buy sprinkles and use them as "hair" but since I didn't want to spend an extra money on brown sprinkles, I opted for the most economical route and just drew some with and without "hair"

HELLO once again from the front!

<3 Enjoy!

Prep time: 20 minutes
Cooking time: 25 minutes
Total time: 45 minutes


Monday, August 12, 2013

Recipe - Spicy Garlic Eggplants with Minced Pork

I love love love eggplants - all sorts of eggplants (from Korean ban chans to eggplant parm to this Chinese prepared dish!) My roommate in Jersey used to make it for me when I was sad/happy/excited/normal/just whenever because he knew how much I liked it. Well... since I don't live in Jersey anymore and don't want to dish out 9.95+ for a greasy plate of eggplants at a Chinese restaurant, I figured out how to whip up this delicious (healthier) dish at home!

Purchase some good looking eggplants from the Chinese store - they're super cheap. Usually less than 2 bucks for the 3 you see above left picture. Slice it down the middle and then cut in diagonals like you see in the above right picture. Rinse and dry for a couple of minutes.

On high heat, pour in some olive oil to cover the bottom of the pan - stir the eggplants to ensure that they don't stick to the bottom. Keep adding oil occasionally (2 more times) to ensure that they are cooking and once again, not sticking to the bottom of the pan - this process should take about 10 minutes. When it starts looking darker and more cooked like the above right picture - look to the next step.

Put in the minced pork that you've also purchased at the Chinese store into the pan with the cooked eggplants - this does not need to be marinated unless you'd want to put in some salt and pepper on top to just make it saltier - the sauce packet (guess where it's bought...) will flavor both the eggplants and meat appropriately.

As you cook the minced pork with the eggplants, stir in the sauce packet and it should look similar to the above picture! Cook for about 4-5 minutes while stirring.

Depending on the softness of the eggplants you like, you can either cook it longer or shorter. I prefer mine medium so I took it out a few seconds after all the pork was done cooking.

Beautiful! I also added some chili flakes for more of a flavor kick but you def. do not need to.

Volia! Enjoy this traditional Chinese eggplant dish like I have for years :)

Prep time: 10 minutes
Cook time: 20 minutes
Overall: 30 minutes

Tuesday, June 25, 2013

Recipe - Egg Cups with Ham and Bacon

Gotta give credit to where credit's due. Once again, the inspiration came from a casual conversation at work. Our senior associate was heating up these little egg bites and I couldn't help but ask. She then told me about this phenomenon called... egg cups?! For people who want to stay healthy/get rid of old food in their fridge, this was a marvelous idea! Two seconds later, I was back at my desk researching a new recipe. I couldn't settle on one recipe I really liked so I just decided to do them all and let's see how it turned out...

Sweet peppers, we had only three in our fridge and the boyfriend helped diced all of those. We also took our mozzarella cheese, using our grater, shredded as much cheese as we thought we wanted to consume. I'd suggest about four tablespoonfuls and more if needed. 

Next, mushrooms! Using any types of mushrooms (we prefer portbello), dice those up as finely as you can as well. Note for the bacon - you can do this as your last step of preparing, depending on what you want to do with it. If you're putting the bacon bites into the egg cup, you can go ahead and fry it first and then use a paper towel and absorb the oil - then dice. If you are aiming for a bacon slice to be the base of the egg cup, be sure to put it in your muffin pan after you absorbed the oil so the circular shape sticks.

Next, use a vegetable of your choice (we used kale here), you're free to use spinach if you'd like. Dice it up really fine, a dab of olive oil and stir fry it in a pan with your mushrooms as well.


Add that all together after the veggies are sauteed! A pinch of garlic salt and fresh grounded pepper to taste, you can always add more later if it's not salty enough.

On to assembling the base of your egg cups, using deli ham (I know, this is so neat!), create a little pocket at the bottom of the pan and it'll naturally fold itself over to create this awesome little cup. For the bacon, as mentioned before, go ahead and put it as a circle around each of the individual muffin holders. Don't worry, eventually it'll stick in place and will look awesome for your egg cups!


These are my variations using the different ingredients I had and the ones we decided to experiment with. We have several kinds ranging from:
1) Ham, peppers, chicken
2) Ham, peppers, mushrooms, bacon
3) Bacon, mushrooms, chicken 
4) Hot dog, mushrooms, mozzarella cheese, kale
5) Bacon, mushrooms, mozzarella cheese, kale, ham

So as you can see, you can tailor and adjust what you'd like according to your taste and your preferences for what veggies/meat. All of them came out great though!

Pre-heat your oven to 390, crank them in for 10-12 minutes, you can check if it's good using a toothpick. If the toothpick you stick in the middle comes out clean, it's done. Also, since most people do not have two muffin pans, you'd need to time it right to have one batch finished and to prepping for the next batch.

These were the first ones I created with bacon and ham as the base. Add some fresh ground pepper on top to season. They came out so good!

Baconnnn, these bad boys were the boyfriend's favorite. 

For me, I really enjoyed these because I was able to put them in the fridge and heat them up in the microwave for 30 seconds as a quick breakfast/afternoon snack.

DELICIOUS :) Have fun, they're the perfect breakfast treat or a potluck favor! I am really glad I made them and hope you'll enjoy these delicious egg cups as well.

Prep time: 30 minutes
Cook time: 10-12 minutes each per batch
Overall: 1 hour


Friday, June 21, 2013

Recipe - Spam Musubi

I think I've had spam musubi (pronounced moo-soo-bee) twice in life. Each time I had it, I had really enjoyed it. Needless to say, I figured instead of paying 1.50 each for this delectable Hawaiian treat, I can start making my own so I can decide what ingredients goes into marinating the spam and how much rice for health reasons. So started this little experiment...

I had mostly every ingredient I needed in my pantry minus the sushi vinegar and the sushi seaweed (which you can probably get at your local Japanese/Asian market.) All you really need is rice, seaweed, musubi maker, spam, sushi vinegar, soy sauce, oyster sauce and fukikake which is the seaweed seasoning you see on the far right (optional).

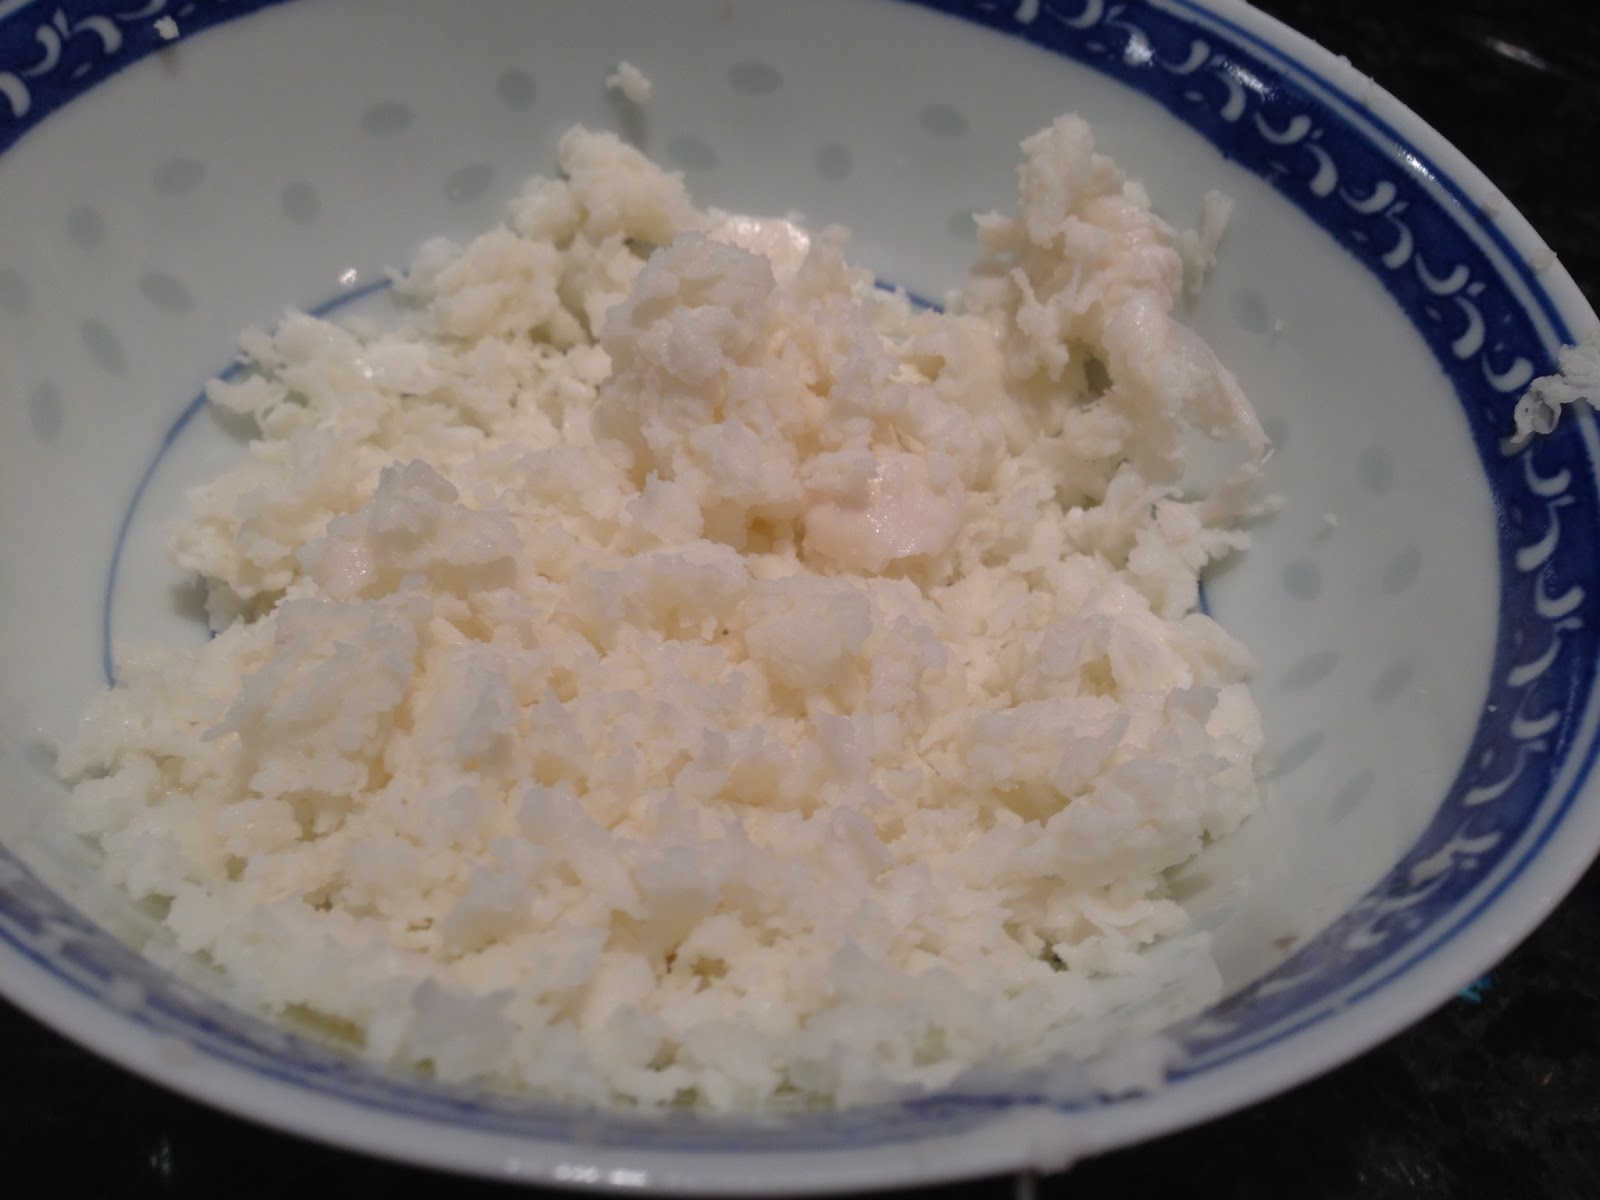
For the rice, you can make your regular rice in a pot or over the stove. Then take out and let it cool for 10-15 minutes, you can do longer if you really want to. But then for about 2 cups of rice, I used a half cup of the sushi vinegar (but you can adjust to taste), 2.5 tablespoons of sugar and a pinch of salt if you'd like. Mix it in thoroughly with the rice but be gently and use a wooden spoon if possible to ensure that the rice doesn't break in the process.

Take the spam out and cut it to your desired thickness, I'd suggest a quarter-half an inch. I didn't want the spam to completely overpower the treat so I made it thinner. Also the thinner, the less spam you eat per bite!

Then onto the egg making process. I scrambled five eggs and cooked it in a small pot, added layers as it was cooking (just three times) and then pressing down with a spatula to achieve the compressed omelette look/making it easier for me to cut later. 

Then to cook the spam. Drizzle a little oil in the pan, over medium heat. I cooked each side for about 2-2.5 minutes. Make sure that it doesn't burn while you're preparing for this. Also, this should be the last component before you start assembling your musubi because you want your spam to be hot as you're putting it altogether! 

With the musubi maker that I purchased from Daiso (best 1.50 I've spent there), you start assembling! First is to put the container to the furthest point of the seaweed. Then you add rice to cover approximately 1/3 of the container.

After your spam is cooked/browned, you carefully (because it's hot!) place them in. Then, go ahead and put the eggs you've previously cooked/cut on top of the spam.

Next, add another layer of rice on top. Using the top of the spam musubi maker, press firmly down to ensure the rectangular shape/stays together for cutting later! 

Slowly keeping the top on the contents, wedge the bottom upwards to ensure the musubi stays in place. 

Look at how pretty it is all packed together! Then slowly wrap it tightly with the seaweed and if it doesn't stick, use a little bit of water and wet the seaweed to ensure it sticks to the rice. Wrap as tightly as possible!

Then, repeat the previous steps until you've used up all your seaweed/spam/egg/rice! This should make around three of these large rolls.

Wowww... it does take a little longer than expected the first time.. But for next time, I'll be more prepared for the process so it'll probably down the preparation time by half an hour or so.

Then using a very sharp knife, slowly cut the big rectangular spam musubis into treat sized little snacks!

It was so deliciously good.. :) 

Don't forget to share with friends and families since now you have more spam musubis than you can eat in one seating. Feel free to put some furikake on top as seasoning as well! 

Afterwards, if you can't finish it all, stick it in the fridge! Next time if you want to eat it, just heat it up for 15-25 seconds to ensure the rice/spam is hot for consumption!

Prep time: 1 hour (maybe longer, depends on your rice)
Cook time: 20-30 minutes
Overall: 1 hour and half - 2 hours

Not bad for a first timer, I'll let you know how fast/slow it takes me the next time around.